A follow up to the last post is in order. I made the 1-2-4 shortbread (a single serving, in fact) last night. This one came out much better. Same process: chop butter and whip it with a fork, add sugar and whip again, add flour and stir. I shape the dough with my hands, then put it on parchment and slip it in the fridge for 30 minutes. This time I went with 325 degrees instead of 350, but the same cooking time (9-10 minutes). This is just about when the shortbread begins to glisten but not lose its shape.
Pre-baked is on left, post baked is on right. The dough was noticeably stiffer, but it still "melted" in the oven. I think this is going to be a normal part of this recipe, as I hesitate to add any more flour. After I let it cool for an hour, it had hardened into what I would consider normal shortbread consistency - flaky and very solid. It was also delicious. Up next: either adding another ingredient (vanilla? raisins?) or playing around with the flour (whole wheat, buckwheat, etc).
Remember, this was made with 1/2 tablespoon of sugar, 1 tablespoon of butter, and 2 tablespoons of flour. And it made exactly one shortbread. Working with an amount of ingredients this small is phenomenal - I take one of my tiny sake cups and a tiny fork and can whip the butter with minimal effort; it softens quite easily given how little there is.
31 December 2010
Shortbread Micro-recipe, Take Two
Tags:
baking,
dessert,
experiment,
shortbread,
vegetarian
29 December 2010
Experimenting via Micro-Recipes
While eating a piece of shortbread, I thought to myself, "Mikey like! Mikey make?" except not necessarily in terms so simplistic. So, straight to the internet where I discovered many interesting facts about shortbread - its long and storied history, its place in cultures across the world, and its humble origins. Namely, 1 part sugar 2 parts butter 3 parts flour. If you check wikipedia, you'll note the flour bit says "oatmeal flour" but since when have I read things properly?
My plan, and I will continue with it, is to take advantage of the few ingredients and simple ratios of shortbread to experiment by making a very small batch (a cookie or two) and tweaking things one at a time. I started off today with a baseline where I took a single tablespoon to be a part. Two biscuits where formed - a baseline sweet to be topped with powdered sugar, and a baseline savory to be topped with sea salt. Other than those toppings, applied after baking, there were no differences in the biscuits.I made a guess on preparation and baking - refrigerate the dough to set it after shaping and an oven heated to 350 degrees, cooking time of 10 minutes. Now, that wrong type of flour mentioned above truly bit me on this night of baselining. See, oatmeal flour is a thicker, heartier type of flour than the unbleached all-purpose flour I employed. The beautiful 1-2-3 ratio did not produce much beyond slightly heated dough. Post-baking, the biscuits had notably melted and failed to solidify the least bit. Once cooled, they were semi-firm and questionably delicious - they reminded me of sugar cookie dough. I dutifully ate them, however, in the name of science.
The next step, then, is to re-baseline the recipe using a 1-2-4 ratio. While not as mnemonic as 1-2-3, it pleases me that it forms a list of powers of two. From there, assuming I get good results, I will experiment with toppings, fillings, and dough ingredients - and I will reduce down to a half tablespoon as the "part", which will make a single biscuit. Hopefully I get good results out of this experiment, though eating a spoonful of flour butter sugar isn't the worst thing a man can do.
Tags:
baking,
dessert,
experiment,
shortbread,
vegetarian
Two Simple Meals
Having been a little under the weather recently, nothing extravagant has been prepared in my kitchen. I'm currently working from home, resting, and very full. From what, you ask? None other than the perfect "lunch for the common cold".
Sometimes, a simple meal is all you really need. Here we have some orange-like thing from the grocery store (tangerine?), Jarlsberg toasted cheese, prepared the proper way, and tomato soup from a can, with a dash of cheese and dill sprinkled on top. How to prepare grilled cheese the proper way? Well, your cheese should be sliced thin and layered only one slice thick. A very tiny pad of butter should be placed on the top and bottom of the bread. Place it in a frying pan, then turn on the heat to medium-low. After a minute or so, slide the bread around by shaking the pan by the handle (to spread out the butter). Every 30 seconds or so, peek into the cheese - once it starts melting even the slightest bit, flip the whole thing over and continue cooking until the cheese becomes a little gooey; at that point, give it a firm press with a spatula, a flip, and another minute or so of cooking.
It is also possible to cook a lazy, healthy dinner to make up for the gluttony of holiday meals and desserts, without using any energy that would be better spent slothing around the apartment.
Here we have Israeli Couscous cooked with chopped carrots and broccoli, spiced lentils with bell pepper, and steamed carrots and broccoli on the side (as well as on top, obviously). The lentils came from a can, plain, and spices were added. To cook couscous with veggies in it, simply chop the veggies into the water before boiling it. They will add a little bit of flavor (you can add broth or spices as well) to the couscous, as well as cooking fully.
Hopefully my sickness will fix itself soon, allowing me to get good and thoroughly hung over for New Years and possibly cooking something before then.
Sometimes, a simple meal is all you really need. Here we have some orange-like thing from the grocery store (tangerine?), Jarlsberg toasted cheese, prepared the proper way, and tomato soup from a can, with a dash of cheese and dill sprinkled on top. How to prepare grilled cheese the proper way? Well, your cheese should be sliced thin and layered only one slice thick. A very tiny pad of butter should be placed on the top and bottom of the bread. Place it in a frying pan, then turn on the heat to medium-low. After a minute or so, slide the bread around by shaking the pan by the handle (to spread out the butter). Every 30 seconds or so, peek into the cheese - once it starts melting even the slightest bit, flip the whole thing over and continue cooking until the cheese becomes a little gooey; at that point, give it a firm press with a spatula, a flip, and another minute or so of cooking.
It is also possible to cook a lazy, healthy dinner to make up for the gluttony of holiday meals and desserts, without using any energy that would be better spent slothing around the apartment.
Here we have Israeli Couscous cooked with chopped carrots and broccoli, spiced lentils with bell pepper, and steamed carrots and broccoli on the side (as well as on top, obviously). The lentils came from a can, plain, and spices were added. To cook couscous with veggies in it, simply chop the veggies into the water before boiling it. They will add a little bit of flavor (you can add broth or spices as well) to the couscous, as well as cooking fully.
Hopefully my sickness will fix itself soon, allowing me to get good and thoroughly hung over for New Years and possibly cooking something before then.
28 December 2010
Origami Reindeer
Made this Christmas Eve as part of a reindeer-making celebration. I thought Christmas was either about family, Jesus, or presents, but apparently it is all about picking a medium and making reindeer to go next to the Christmas shrub (again, I thought one had a tree but I can see how this is hard in a small place). This folding was somewhat annoying.
Now, this was supposed to be made from foil and after the fact I can see why. In the center of the torso, and in the head, it is probably 10 or more layers of paper thick. Very hard to work with - I mostly gave up on the final shaping steps of the legs, head, torso, and horns. It was folded with an offset waterbomb base, leaving 1/6 or so of the paper hanging off the side which was later (through a very arduous process) turned into antlers.
I was also expecting it to be somewhat difficult, as it appeared as one of the last models in the book, but I realized it wasn't so much difficult as time consuming. I think there was only one sink fold in the model, and there were no funny twist folds or petal folds involving many layers.
Now, this was supposed to be made from foil and after the fact I can see why. In the center of the torso, and in the head, it is probably 10 or more layers of paper thick. Very hard to work with - I mostly gave up on the final shaping steps of the legs, head, torso, and horns. It was folded with an offset waterbomb base, leaving 1/6 or so of the paper hanging off the side which was later (through a very arduous process) turned into antlers.
I was also expecting it to be somewhat difficult, as it appeared as one of the last models in the book, but I realized it wasn't so much difficult as time consuming. I think there was only one sink fold in the model, and there were no funny twist folds or petal folds involving many layers.
27 December 2010
Thumbprint Rolls (Blueberry and Cinnamon/Sugar Crumble)
More free time than usual due to the holidays, so I'm doing more baking. The original plan was to cook something using Panettone dough as it is a very involved and time-consuming process. Luck (or laziness?) was on my side, and I was spared to ordeal when I read the recipe in my book - it used a starter. As my starter is still forming, I did not want to try substituting instant yeast in for a recipe that complex.
I found a recipe that looked awesome - Fruit-Filled Thumbprint Rolls. I'll spare the dough details, as it is just cinnamon roll dough (use your favorite recipe). After getting your dough all ready, at the point when you are ready for it to rise, form it into tiny rolls and proof. Right before they are to go in the oven, wet your thumb and push into each roll in the center, creating a nice divot to fill with sugary substances. My rolls had in issue - I either didn't make big enough divots or I didn't let them rise for quite long enough. Many rolls "popped" when baked, rejecting their sugary implants and depositing them all over their surface.
Of course, you should have made your sugary substances by this point. I went with two filling options - blueberry filling and a cinnamon sugar crumble with raisins. The blueberry filling was made using a slurry of sugar, water, and corn starch that was stirred constantly over medium until it was boiling, then blueberries were thrown in as it was removed from heat. Boiling sugar water is really fun, you should try it some time. The cinnamon sugar crumble was, well, cinnamon, sugar, butter, and flour mixed together (flour added last), then topped with a few raisins once the pastry was filled.
The final part of the recipe was much looked forward to by myself - making a sugar glaze, brushing it over the rolls the second they come out of the oven (covering them in a fine, and mostly invisible, layer of sugar). The real topper was waiting for them to cool and then drizzling ever more glaze on top. To make glaze, put a dash of vanilla in a cup of sugar and whisk, then gradually add liquid (water, milk, etc) while whisking until it hits the consistency you are looking for.
I found a recipe that looked awesome - Fruit-Filled Thumbprint Rolls. I'll spare the dough details, as it is just cinnamon roll dough (use your favorite recipe). After getting your dough all ready, at the point when you are ready for it to rise, form it into tiny rolls and proof. Right before they are to go in the oven, wet your thumb and push into each roll in the center, creating a nice divot to fill with sugary substances. My rolls had in issue - I either didn't make big enough divots or I didn't let them rise for quite long enough. Many rolls "popped" when baked, rejecting their sugary implants and depositing them all over their surface.
Of course, you should have made your sugary substances by this point. I went with two filling options - blueberry filling and a cinnamon sugar crumble with raisins. The blueberry filling was made using a slurry of sugar, water, and corn starch that was stirred constantly over medium until it was boiling, then blueberries were thrown in as it was removed from heat. Boiling sugar water is really fun, you should try it some time. The cinnamon sugar crumble was, well, cinnamon, sugar, butter, and flour mixed together (flour added last), then topped with a few raisins once the pastry was filled.
The final part of the recipe was much looked forward to by myself - making a sugar glaze, brushing it over the rolls the second they come out of the oven (covering them in a fine, and mostly invisible, layer of sugar). The real topper was waiting for them to cool and then drizzling ever more glaze on top. To make glaze, put a dash of vanilla in a cup of sugar and whisk, then gradually add liquid (water, milk, etc) while whisking until it hits the consistency you are looking for.
Tags:
baking,
bread,
dessert,
pastry,
vegetarian
25 December 2010
"Best Biscuits Ever" - So Sayeth the Recipe
Maybe true. They were delicious, and they consisted of mostly butter and cream (a bit less than half the dough by volume). And, like most of my bread, it came from Artisan Breads Every Day. The recipe is incredibly easy and, for about 30 minutes of work and 15 minutes of baking time, you can't go wrong with it. Especially when it produces biscuits that look like this.
The prep was similar to some cold-butter recipes I have made before, in which you want to mix butter into a flour mixture without melting anything. My usual method is to put the butter in the freezer for 30 minutes and the rest of the dry ingredients in the fridge in the bowl I plan on mixing everything in. When the butter is very cold, lightly dust a cutting board with flour and chop it into 1/4 inch cubes. Alternatively, and as I did for this recipe, you can actually grate the butter into the dry ingredients using a cheese grater. Mixing this is a little hard - you can stir with a spoon to get everything to stick together - but your goal that must always be in your mind is not melting that butter.
Ideally, you pour in the chilled liquid portion, mix gingerly with your hands, and roll it on a floured surface to get it to really come together. Flour when rolling this dough is a necessity, lest it stick to the rolling pin, the cutting board, itself, or your hands. The dough is repeatedly rolled out flat, folded like a letter for an envelope, and then rolled out flat and rotated a quarter turn. Every roll out is followed by a dash of flour on top of and underneath the dough, preventing the layers from meshing together.
If you did everything properly, without letting the dough warm and without rolling the layers together, you'll get a flaky, layered biscuit.
The prep was similar to some cold-butter recipes I have made before, in which you want to mix butter into a flour mixture without melting anything. My usual method is to put the butter in the freezer for 30 minutes and the rest of the dry ingredients in the fridge in the bowl I plan on mixing everything in. When the butter is very cold, lightly dust a cutting board with flour and chop it into 1/4 inch cubes. Alternatively, and as I did for this recipe, you can actually grate the butter into the dry ingredients using a cheese grater. Mixing this is a little hard - you can stir with a spoon to get everything to stick together - but your goal that must always be in your mind is not melting that butter.
Ideally, you pour in the chilled liquid portion, mix gingerly with your hands, and roll it on a floured surface to get it to really come together. Flour when rolling this dough is a necessity, lest it stick to the rolling pin, the cutting board, itself, or your hands. The dough is repeatedly rolled out flat, folded like a letter for an envelope, and then rolled out flat and rotated a quarter turn. Every roll out is followed by a dash of flour on top of and underneath the dough, preventing the layers from meshing together.
If you did everything properly, without letting the dough warm and without rolling the layers together, you'll get a flaky, layered biscuit.
And if you let the dough get too dry so that it doesn't stick at all, you'll get a biscuit that pops apart in the oven (don't worry, still delicious).
23 December 2010
Snickerdoodles
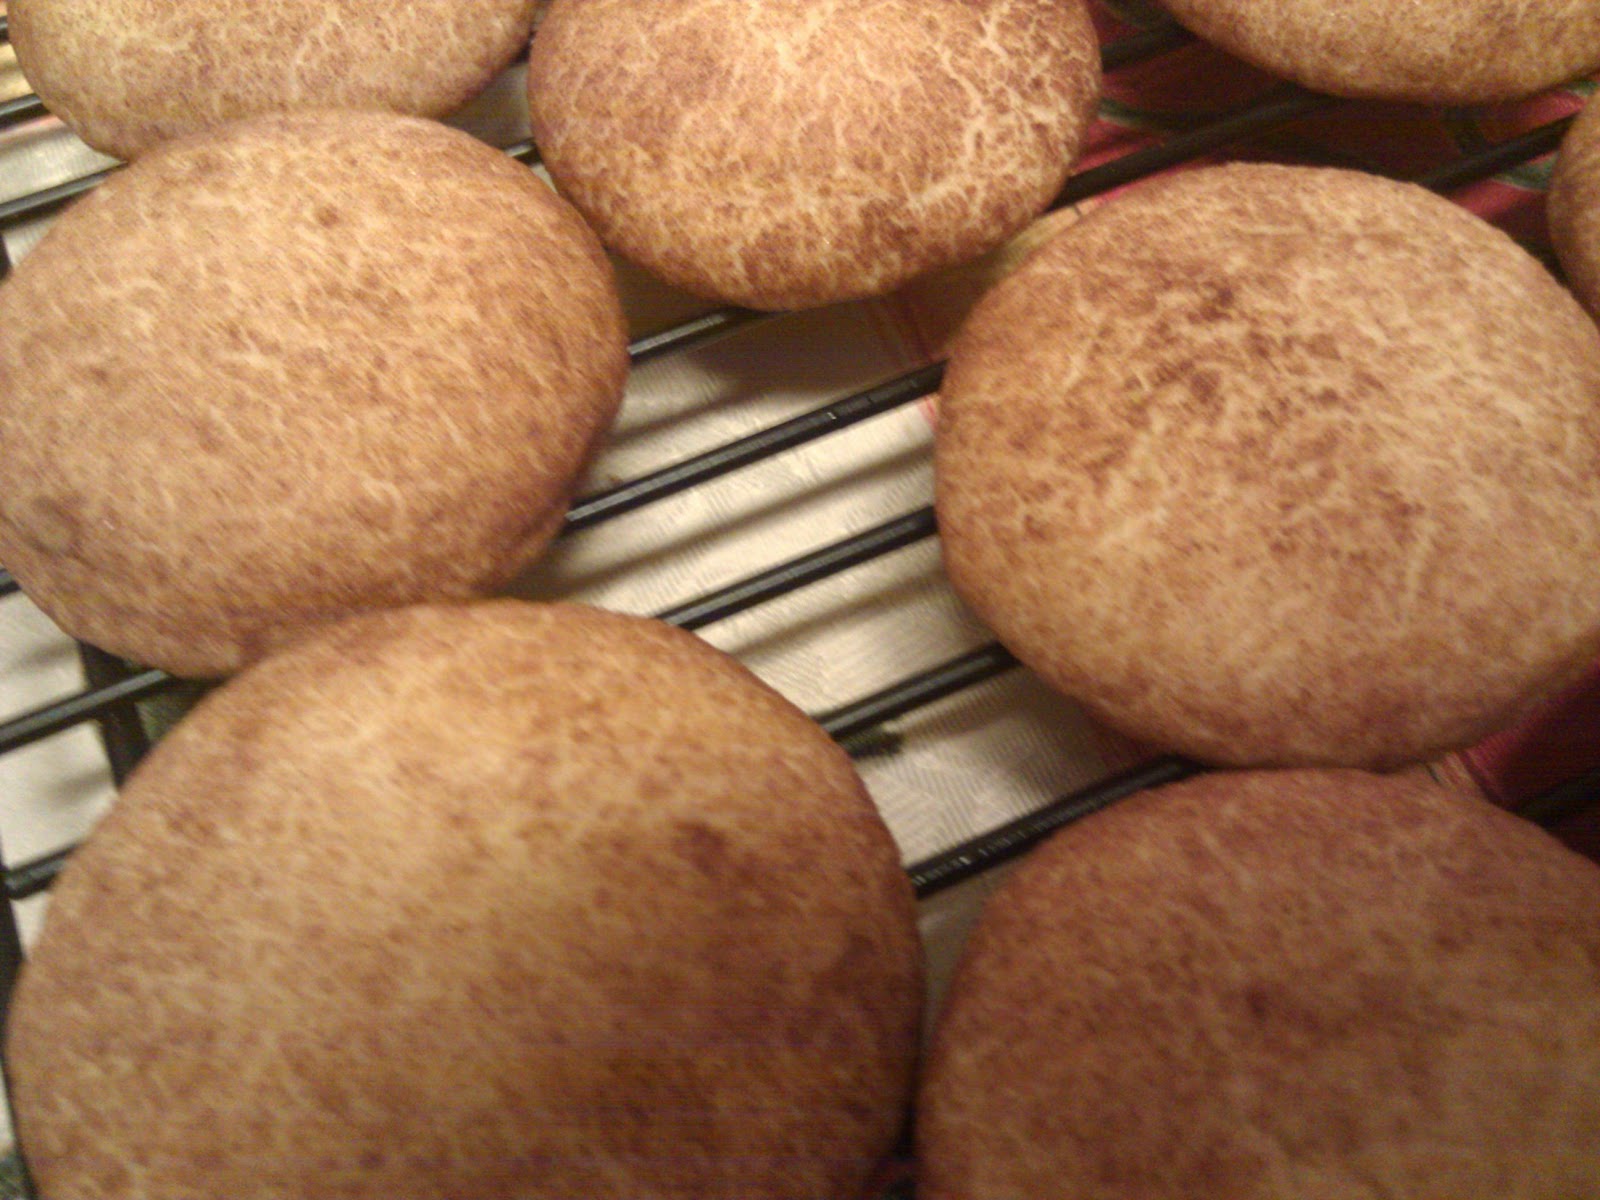
A dessert! A delicious, delicious dessert! This recipe made its way to me via Smitten Kitchen and it looked easy enough. I won't copy the recipe here (as we didn't modify it at all), but there were a few learnings from it.
Something was slightly off with our cookies when they came out of the oven - its either the fact some extra salt spilled into the recipe, or that our cinnamon and sugar bowl wasn't empty when the last cookie was coated. I would recommend switching from 1 1/2 cups sugar in dough and 1/4 cup reserved to 1 5/8 cups sugar in dough and 1/4 cup reserved. You can use the extra sugar/cinnamon mixture as an ice cream topper. Trust me, it is really good.
Otherwise, no changes in the recipe - the cooking time of 10 minutes was spot-on. The second batch ended up getting 12 minutes and the smaller ones got far too crispy. Also, be warned, these are soft cookies. If you want your snickerdoodles hard, go elsewhere.
A word of warning: if you don't have a mixer, fluffing butter and sugar can take some work. The strategy I used was to cube the butter to about the size of sugar cubes and knead the sugar in by hand. Once it is a smooth consistency, put it in a small bowl about twice the volume of the butter mass and stir quickly with a wooden spoon until it gets fluffy or airy. You can also use a whisk towards the end, but it isn't strictly necessary.
Subscribe to:
Posts (Atom)